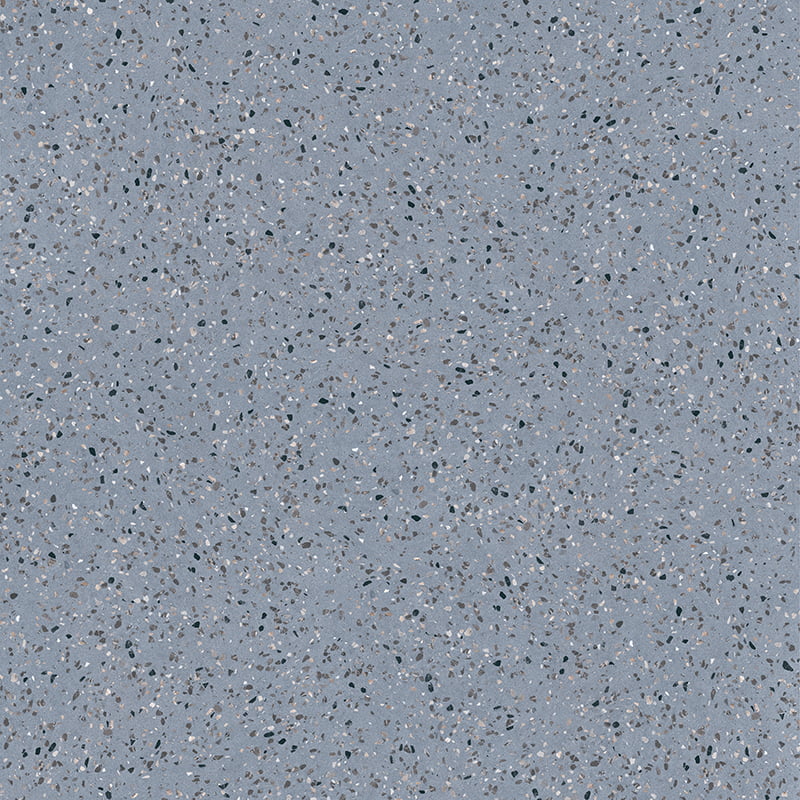
If you’ve decided to embrace the trend of terrazzo decorative film, congratulations—you’re about to embark on a transformative journey for your space! Installing terrazzo decorative film may seem daunting at first, but with the right tools and techniques, you can achieve professional-grade results. Here’s a step-by-step guide to help you get started.
Step 1: Gather Your Tools and Materials
Before diving into the installation process, ensure you have all the necessary supplies. You’ll need:
Terrazzo decorative film (measured according to your project size)
A utility knife or scissors
A squeegee or credit card
A measuring tape
A level
Cleaning supplies (mild soap, water, microfiber cloth)
Painter’s tape (optional)
Step 2: Prepare the Surface
Proper surface preparation is key to ensuring a smooth and long-lasting application. Start by thoroughly cleaning the area where the film will be applied. Remove dirt, grease, or residue using mild soap and water, then allow the surface to dry completely. If there are imperfections such as cracks or bumps, sand them down until the surface is even.
For porous surfaces like wood or concrete, consider applying a primer to enhance adhesion. Once the surface is clean and dry, use painter’s tape to mark off edges or boundaries if needed.

Step 3: Measure and Cut the Film
Measure the dimensions of your surface carefully and cut the terrazzo decorative film slightly larger than required. Leaving extra material around the edges allows for adjustments during installation. Use a straight edge and utility knife to make precise cuts.
Step 4: Apply the Film
Peel back a small section of the backing paper from the film and align it with one corner of your surface. Press it gently into place, smoothing out air bubbles as you go using a squeegee or credit card. Work slowly and methodically, peeling away the backing paper bit by bit while pressing the film firmly onto the surface.
Avoid stretching the film too much, as this could distort the pattern. If air bubbles appear, puncture them with a pin and smooth the film over the area again.
Step 5: Trim Excess Material
Once the film is fully applied, trim any excess material along the edges using a sharp utility knife. Be careful to follow the contours of your surface for a clean finish. Remove any remaining painter’s tape and inspect your work for any missed spots or imperfections.
Tips for Success
Work in Sections : If you’re covering a large area, divide it into smaller sections to maintain control and prevent the film from shifting.
Maintain Temperature : Ensure the room temperature is between 60°F and 75°F for optimal adhesion.
Be Patient : Take your time during installation—it’s better to proceed slowly than rush and risk mistakes.